Wall Panels are getting more prevalent among all wall coverings, and their adaptability is the primary reason they are outselling other alternatives. They may be incorporated into any space to provide quick comfort, sound absorption, noise reduction and insulation while enhancing the overall wall decor.
If you are considering switching to decorative wall panels in Dubai, Renova Panel can help you make the procedure simple with an effective DIY installation guide. With this beneficial information, you will not need to employ specialists for the task and will be able to acquire a greater sense of pleasure with your visual preferences, in addition to saving money.
A Comprehensive Step-by-Step Wall Panel Installation Guide

Perhaps you have selected to update your walls by adding sleek, modern PVC wall panels. Excellent choice. Putting these panels is simpler than you imagined, whether you want to lower noise, add complexity to your room, or simply create a modern design. It is a perfect DIY for every homeowner who is interested in wall renovation. Below is an instruction manual on installing panels that will affordably change your home interior.
- Sketch The Design
- Take Measurements
- Smooth The Surface
- Trim The Panels
- Place The Panel
- Leave No Gaps
- Final Check
Tools And Materials
Panel installation is tricky as it requires a list of tools and techniques that have to be applied perfectly to achieve the desired results. Following is the list of tools and materials recommended by our professional team:
- Tape
- Skeleton Gun
- Pins
- Double Tape
- Knife
- Staple
- Pencil
- Glue
- Jigsaw
- Silicon
- Sandpaper
Step 1: Sketch The Design
Before the installation, make sure to craft the sketch of the settings on the wall where the panels will be. This method of planning can create ease for you when you start placing the panel. Pin the location where panels will be placed and make sure to spot it with pencil marks.
Step 2: Take Measurements
Taking the accurate dimensions is a necessary thing while installing panels. Before purchasing it in random sizes, you have to take a measuring tape and measure the length and width of the wall. Mark the spot with a pencil and write the size of length and width on the surface of the wall.
Step 3: Smooth The Surface
Before attaching the panel, clean the wall with a clean cloth to remove dust. Further rub the walls with sandpaper to ensure the smoothness. This process clears out all the unnecessary things from the wall and prepares it for installation.
Step 4: Trim The Panels
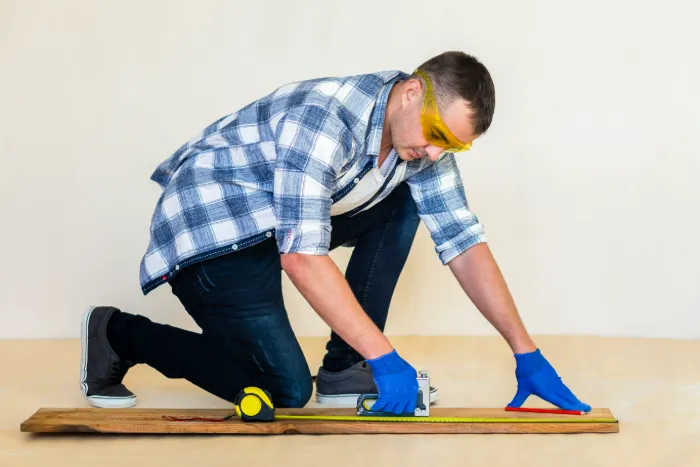
When you purchased the panel in a measured size, now you have to cut it to an accurate dimension. As panels should be perfectly fitted in the wall to ensure the correct cutting. Place the panel on the floor, measure the sizes like length and width with a measuring tape. Now trim the panels with a jigsaw set at the angle that perfectly cuts them. It is advised to spot the lines with rules to maintain accuracy.
Step 5: Place The Panel
After preparing the wall and cutting the panels to an inadequate size, you have to fit the panels on the wall. But there are several common methods that have been used for placing the wall panel. You can choose from these as per your requirement.
1)- Glue
The most common method is placing the glue on the panels and pressing it on the wall, and fixing it.
2)- Z-Clip
This panel is attached with two clips; one male clip is attached first to the wall set in the studs. While the other female panel is set afterwards at the same location. Now, interlock both the clips to ensure they are securely fitted.
3)- French Cleat
This method is quite similar to the z-clip; two clips are used in this technique, one of the cleat is installed initially on the wall. The other pair is placed after putting the glue. Once the glue is dry, now put the cleat on the wall. Interlock both cleats so that they cannot fall.
4)- Nails
It is a very simple and common technique for placing the panels. First, put the nail in the wall with a hammer at the exact location marked previously. Now install the panel smoothly on the studs. Install each panel side by side for perfect fitting.
5)- Mount
As you have prepared the wall surface, now install the battens while spotting with a pencil mark and drill the hole in the wall. Make sure to maintain a distance of 600cm in battens. Now attach the rail and frame to the wall. Place the hardware on the panel to secure it in the frame. Lastly, hold it with clips or screw it tightly to grip the panel.
Step 6: Leave No Gaps
The next step is to check and fix any gaps remaining in the wall. Here, if you find any space, you can use silicon as the filler to cover the spaces. If there are any holes or cracks, make sure to cover them with polyester to ensure a smooth wall cladding finish.
Step 7: Final Check
Lastly, check if there is excess length of the panel, then trim it so that it creates a finished look.
Make sure to test each panel fixing and grip, just to free yourself from the hassle of reinstalling it.
Tips
The following are some key points to consider while installing the panel.
- Remove all the objects, like paintings and frames, from the wall.
- Check the panel feature to see if they can be installed at the given room temperature.
- Put the studs in the wall before placing the nails; it will protect the wall from damage.
Top Trending Types Of Wall Panels in Dubai

These are the boards simply utilized to cover the wall spaces to enhance the interior aesthetics and functionality. Some panels are installed in homes to create soundproofing, while others are used for maintaining the temperature. You can customize your panel by providing a specific size, color, and design as per your interior.
Several types of panels are used to decorate the interior of walls.
1-PVC Wall Panel
PVC wall panels in Dubai are considered the most widely used for outdoor spaces to protect the walls from water seeping and moisture.
2-Acoustic Wall Panel
The best soundproofing can be created with the Acoustic wall panel Dubai, which features the ability to block the traffic sounds in offices and homes.
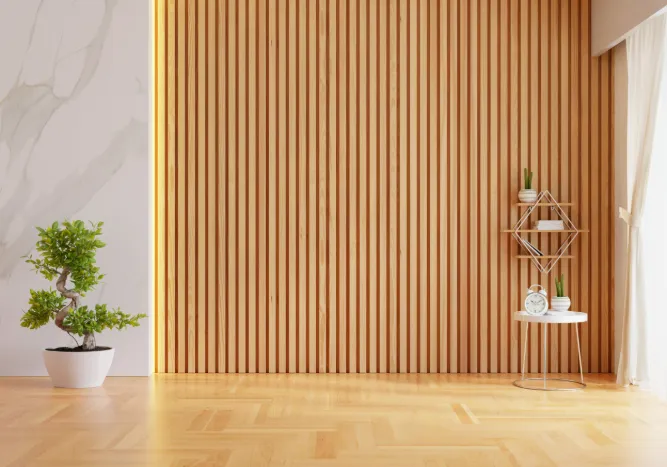
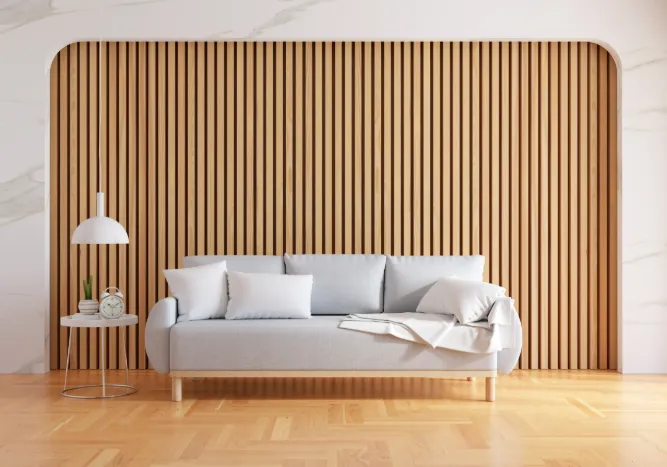
3-Wooden Wall Panel
For home and office interior wooden wall panel Dubai, it is an excellent choice due to its modern and naturalistic design.
4-Concrete Wall Panel
Concrete Wall panel Dubai is a great option for offices and residential places in Dubai, as these are prefabricated cement panels easily installed into your space.
Final Thought
Wall panels are highly attractive and economical decorative elements for wall ornamentation. They complement both home and business environments. It’s a DIY or industrial wall panel; installing them takes time and the right processes, further right tools for seamless and secure results. Make sure to gather all the necessary tools before beginning the process.
Upon gathering your equipment, assess the wall’s state and arrange it for a faultless finish. Then, precisely evaluate the walls with regard to coating size. Cut these panels to fit the desired size of the wall. Level your wall with sandpaper, apply the adhesives, and place the panels. Fill the gaps and complete the look.